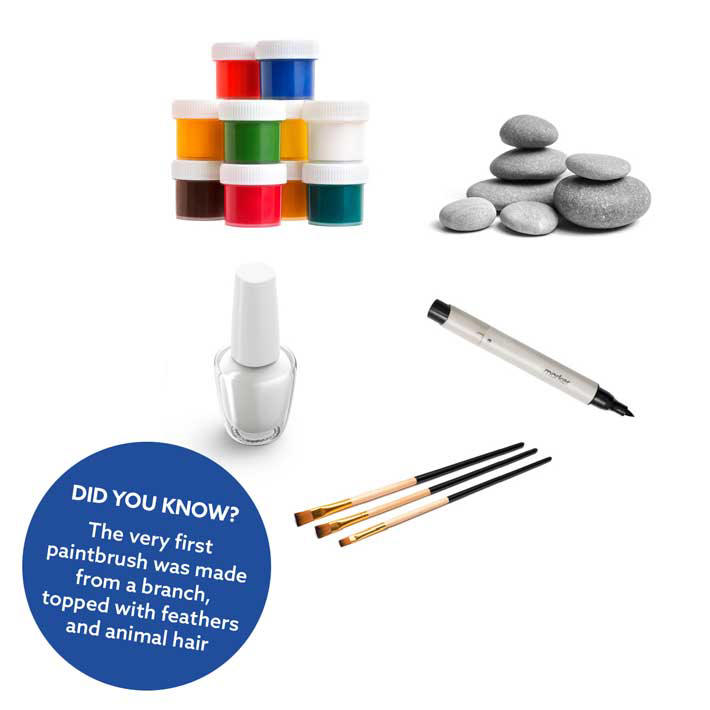
To get started, you’ll need:
- A large, smooth pebble
- Acrylic paint in a variety of colours
- A permanent marker
- Thin paint brushes
- Clear varnish (acrylic varnish or nail varnish)

There are so many ways that you can decorate your pebbles
- Paint colourful flowers on each pebble to brighten up your garden
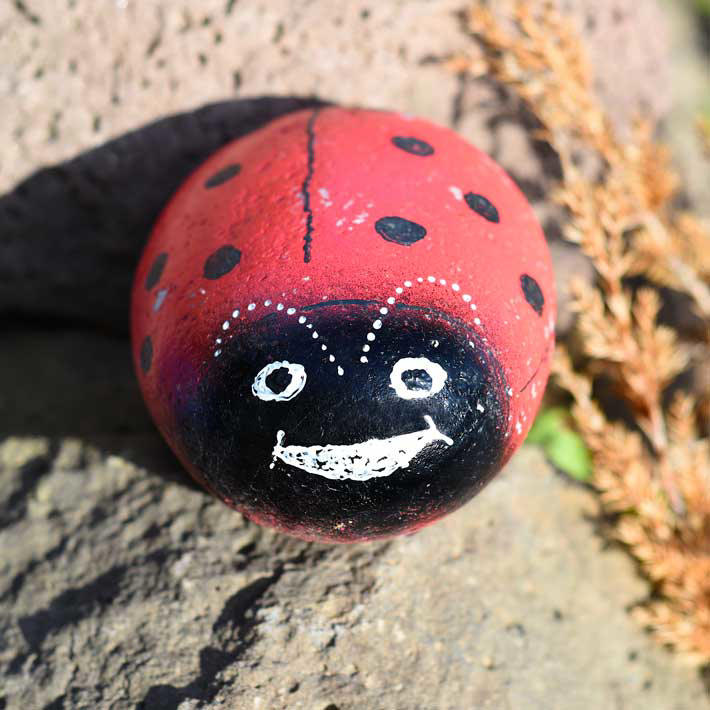
- You could even create your own ladybirds, beetles and bumblebees!
- Painted pebbles are also a great way to label your veggie patch

Step 1: Plan out your design
- Draw some of your ideas on paper first, this will help you when you start painting your pebbles
STEP 2: OUTLINE YOUR DESIGN
- Once you’ve perfected your idea, outline your design on the pebble using your permanent marker. This will give you a handy guide when you come to paint

Step 3: Paint your design
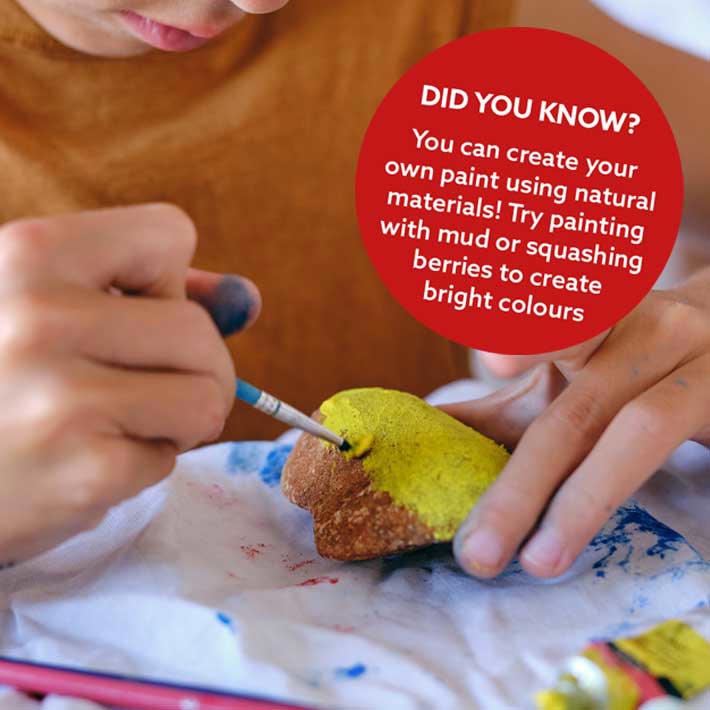
- Acrylic paint or poster paint is best when painting on rocks or pebbles. Use a variety of bright colours to really make your pebble pop! It’s also best to use thin paintbrushes as this means you can add more detail to your design
STEP 4: VARNISH YOUR PEBBLE
- When the paint is dry, cover the entire pebble in clear varnish. You can use acrylic varnish if you have it. Clear nail varnish also works perfectly well

Step 5: Find a home
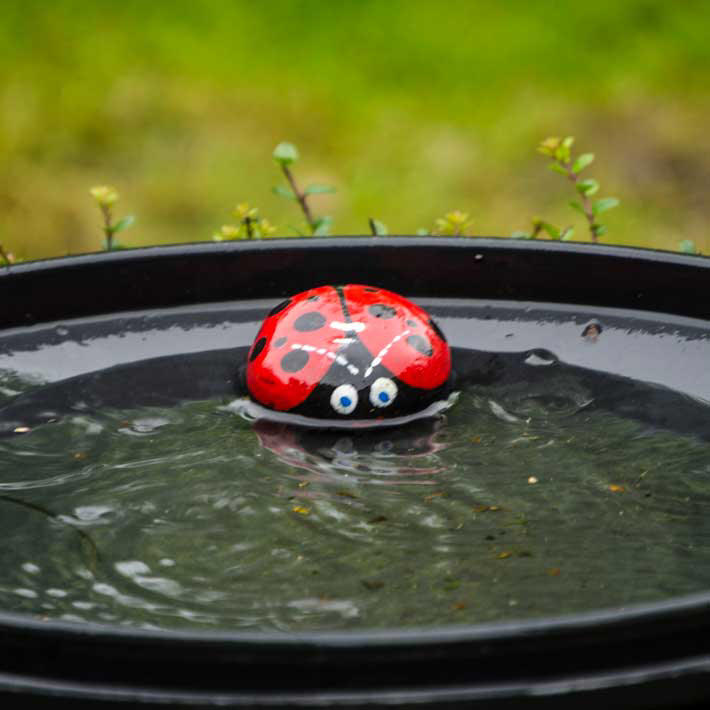
- Once the varnish is dry your pebbles will be waterproof, so you don’t need to worry about the rain washing away your design. Now all that’s left to do is to find a home for your pebble in your garden!
We’d love to see your colourful pebbles dottedaround your garden. Share a picture using #DobbiesLittleSeedlings and tagging us
Instagram: @dobbiesgardencentres
Facebook: @DobbiesGC
Twitter: @dobbies
